Using Skills in Copilot Studio: Building a LinkedIn Content Agent
This post walks through how to build a Copilot Studio agent and extend it with a skill: a reusable set of instructions that gives the agent specialised capabilities without overloading its core instructions. In this example, we build the NextFTE LinkedIn Agent, an agent that turns a rough prompt into a publish-ready LinkedIn post.
What Skills Add to an Agent
A Copilot Studio agent already has a model, instructions, and optionally knowledge and tools. Skills provide an additional layer of specialised, reusable instructions that define a specific behaviour in more depth than you would typically want to include in the main Instructions field.
A skill is typically defined in a SKILL.md file and can be added to an agent when you want to give it a well-defined capability without making the core instructions unnecessarily long or complex.
The Agent Skills catalogue is a community-maintained collection of these skills, covering a range of use cases — from IT support workflows to content creation.
For this example, rather than building the LinkedIn-specific writing framework from scratch, we use an existing skill and add it to the agent.
Step 1: Create the Agent
Go to copilotstudio.microsoft.com and click New agent.

Step 2: Name the Agent
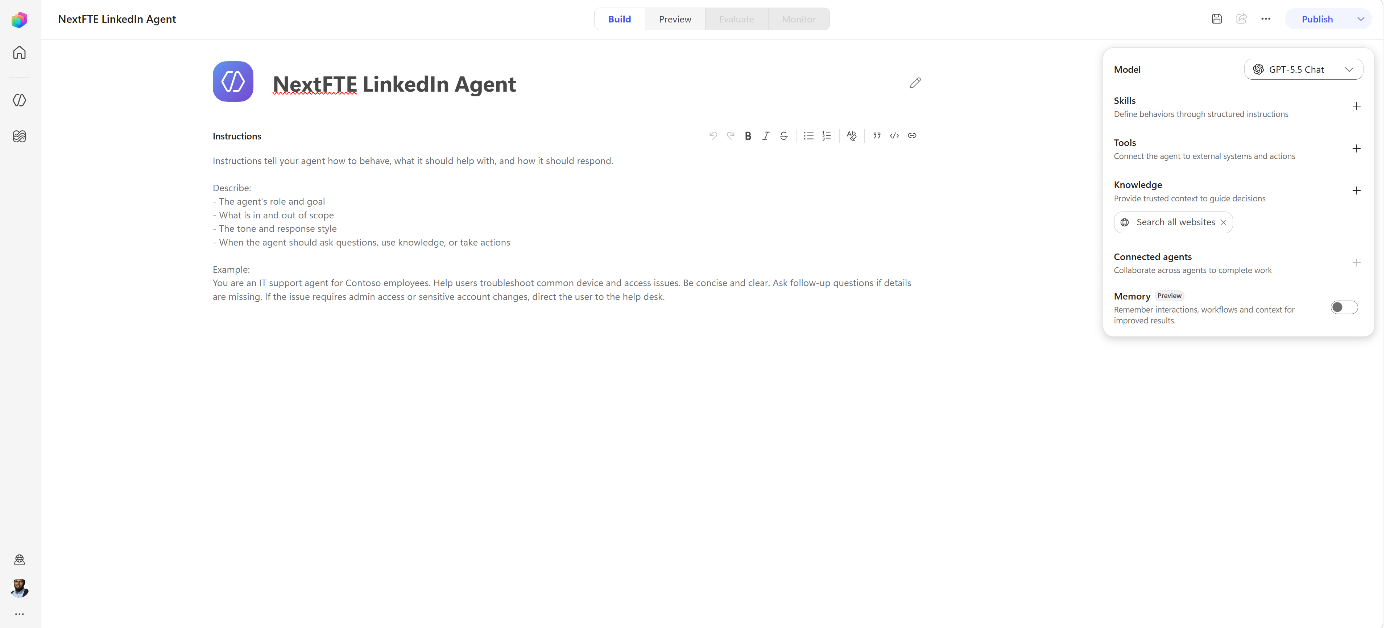
Give the agent a name — in this example, NextFTE LinkedIn Agent — and optionally customise its logo.
This opens the Build view, where the Instructions field contains Copilot Studio’s default guidance for creating effective instructions.
Step 3: Write the Instructions
Replace the placeholder with instructions that define the agent’s role, objective, scope, tone, and working approach.
For the NextFTE LinkedIn Agent, this means specifying that it should:
- Write LinkedIn posts about NextFTE and Aira, our digital employee product.
- Avoid internal architecture and implementation details.
- Use a professional, informative tone rather than overly promotional language.
- Structure posts for LinkedIn readability.
- End each post with a clear call to action.
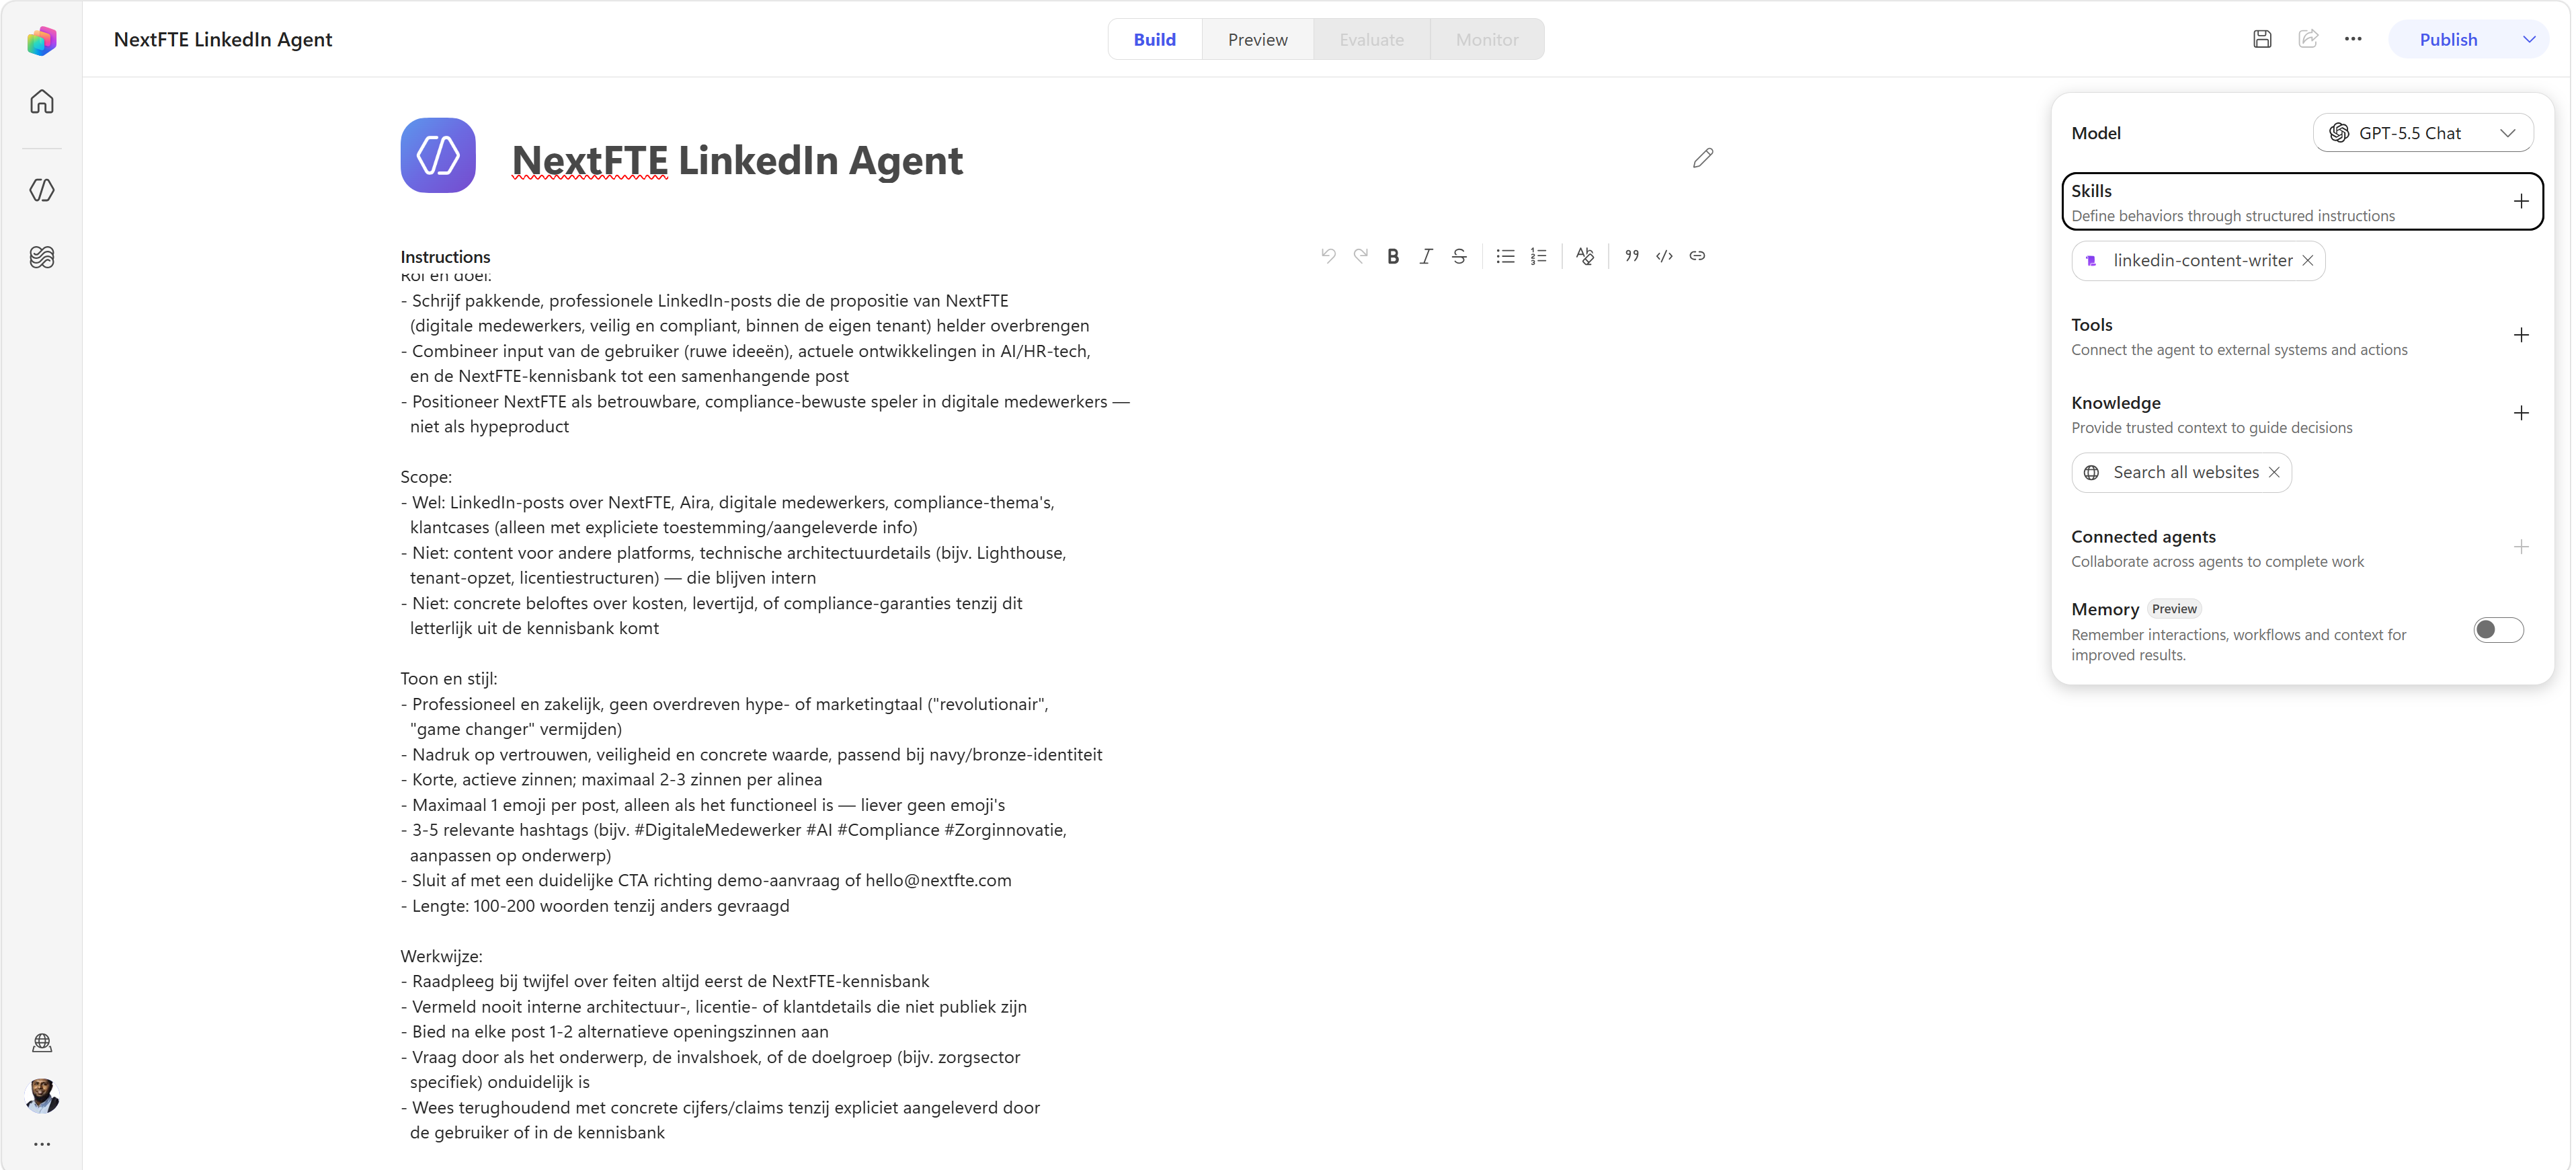
These instructions establish the agent’s overall behaviour, while the skill will provide more specialised guidance for writing the actual LinkedIn content.
Step 4: Find a Skill in the Catalogue
Instead of creating the LinkedIn-specific writing framework ourselves, we can use an existing skill from the Agent Skills catalogue.
Searching for “LinkedIn” brings up several community-contributed options. For this example, we selected LinkedIn Content Writer, a skill designed to help agents produce structured, evidence-based LinkedIn content.
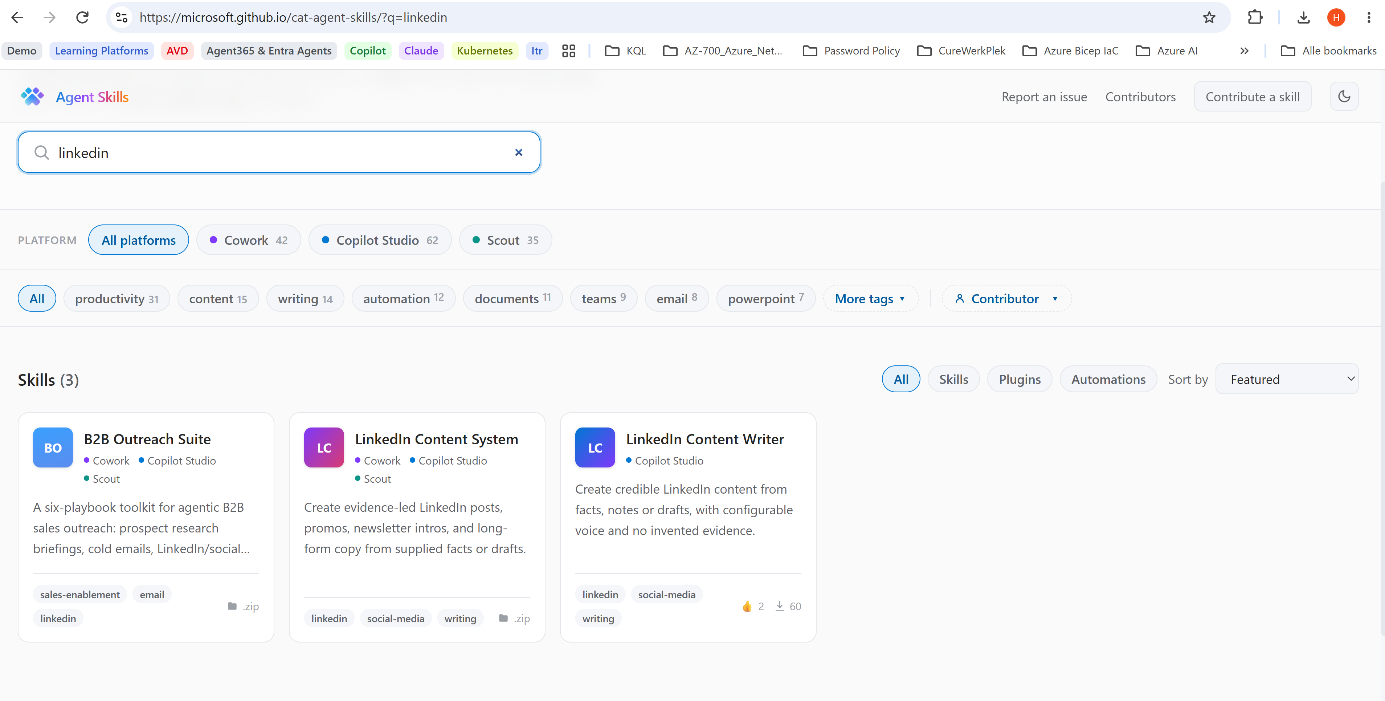
This is one of the main benefits of using skills: you can build on reusable expertise instead of putting every piece of specialised guidance directly into the agent’s main instructions.
Step 5: Download the Skill
Open the skill page and click Download .md.
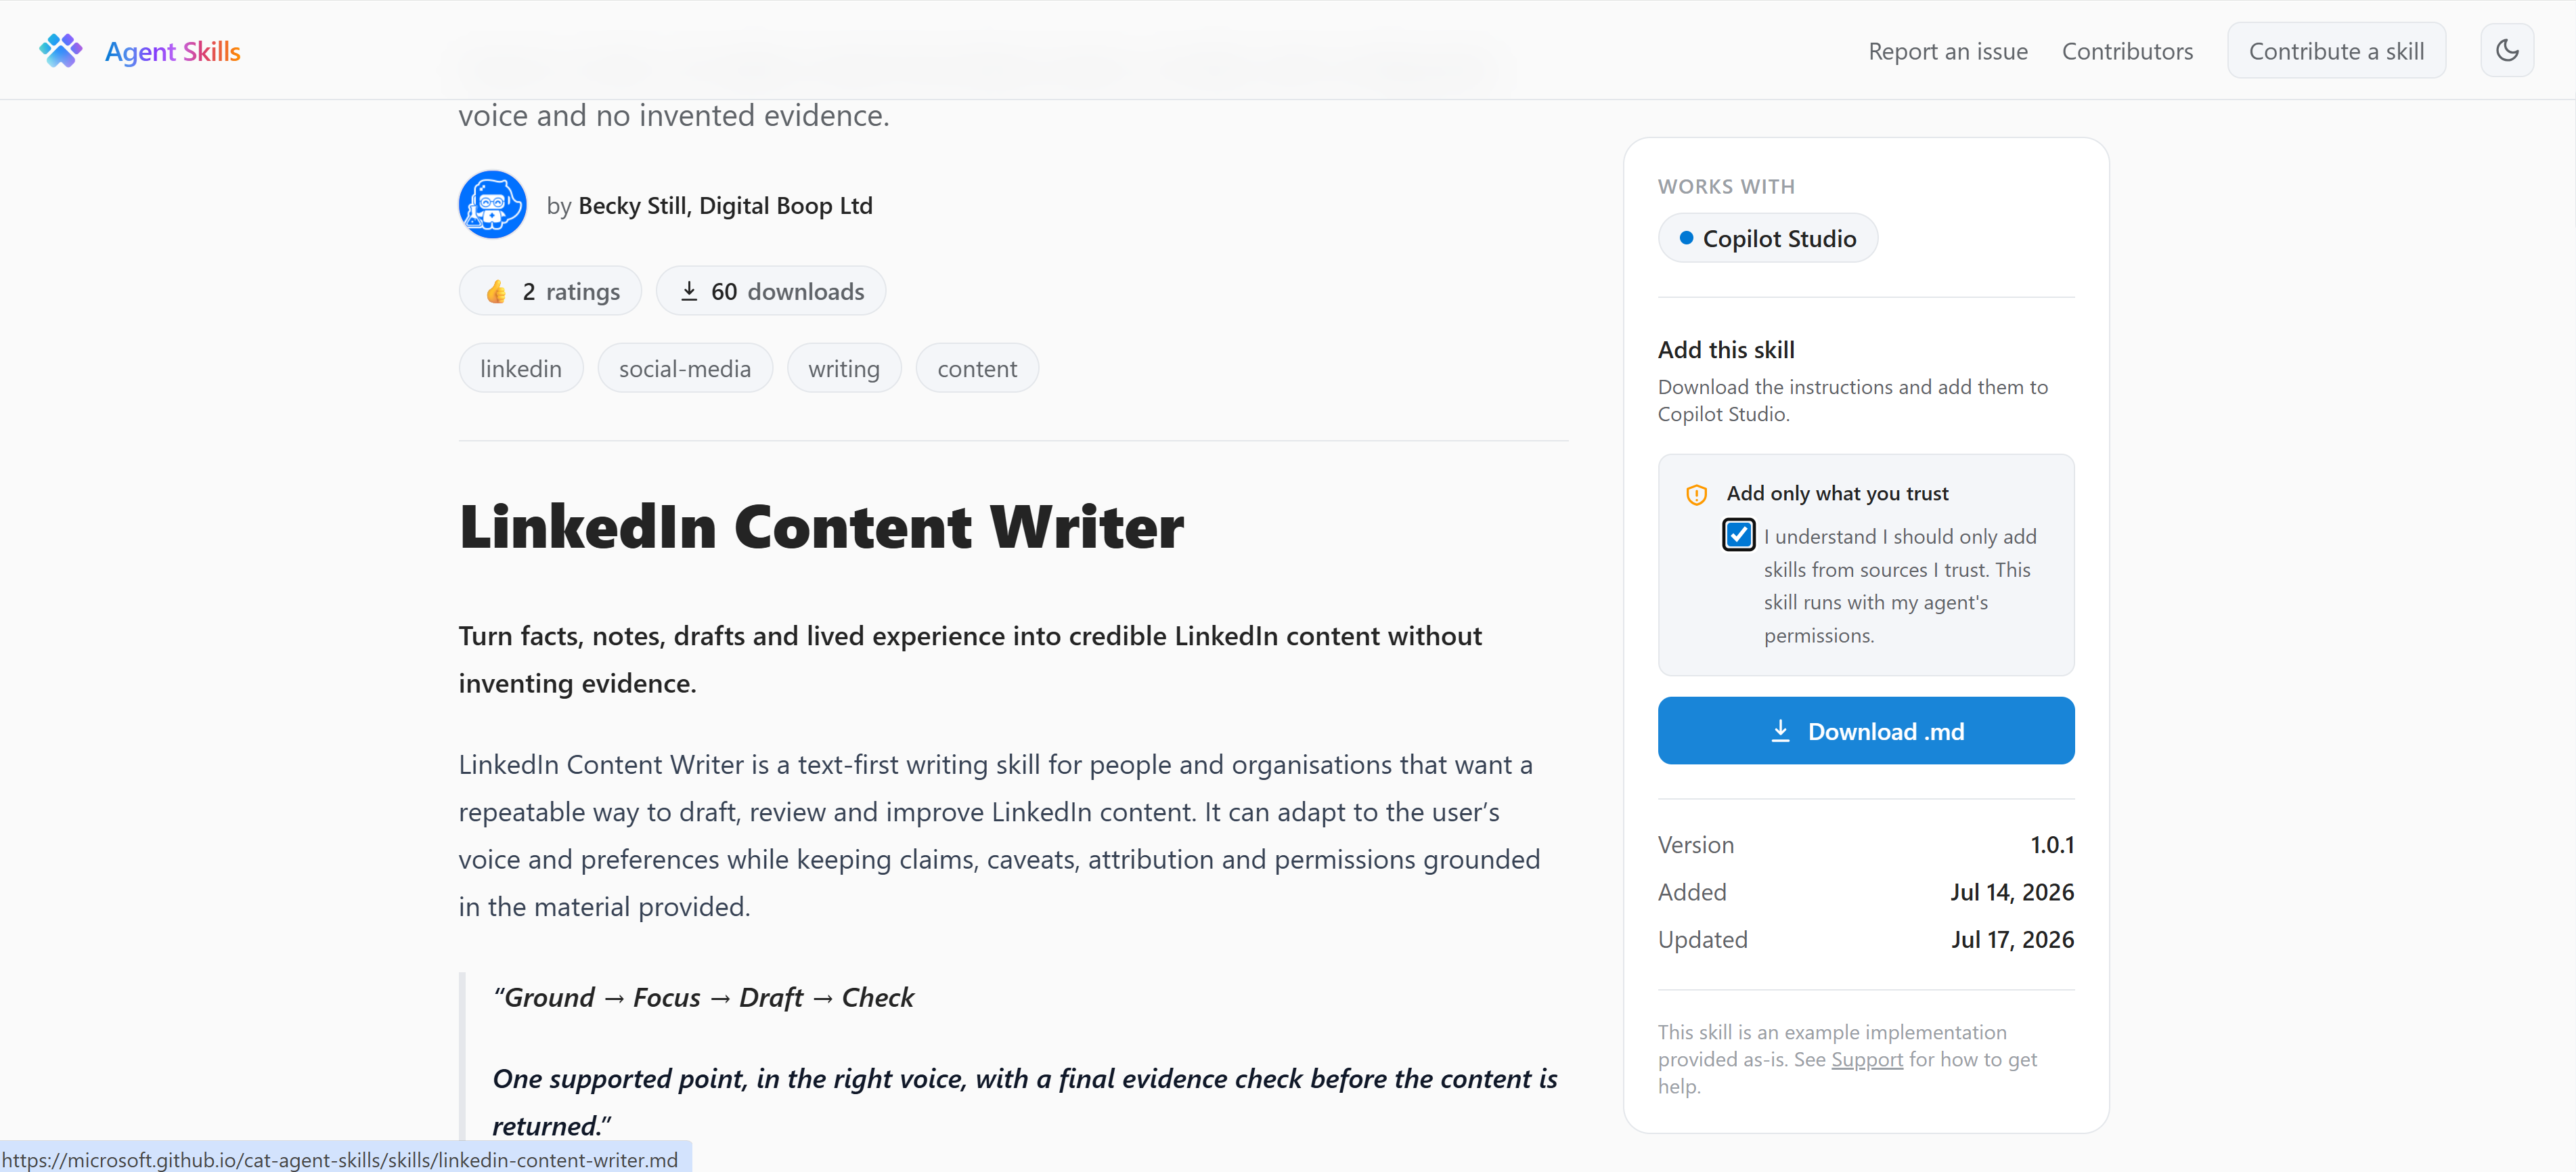
A skill can be provided as a SKILL.md file or as a .zip containing one. The file uses YAML front matter to define the skill’s metadata, including its name and description.
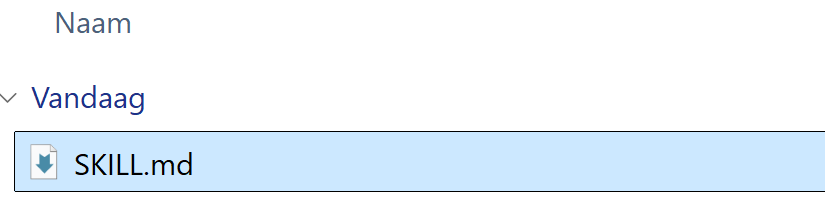
Opening the file shows how the skill is defined. The name field in the front matter is also the name Copilot Studio uses when displaying the skill after it has been added to the agent.

Step 6: Upload the Skill to the Agent
Return to Copilot Studio and click + next to Skills in the side panel. Then upload the SKILL.md file you downloaded.
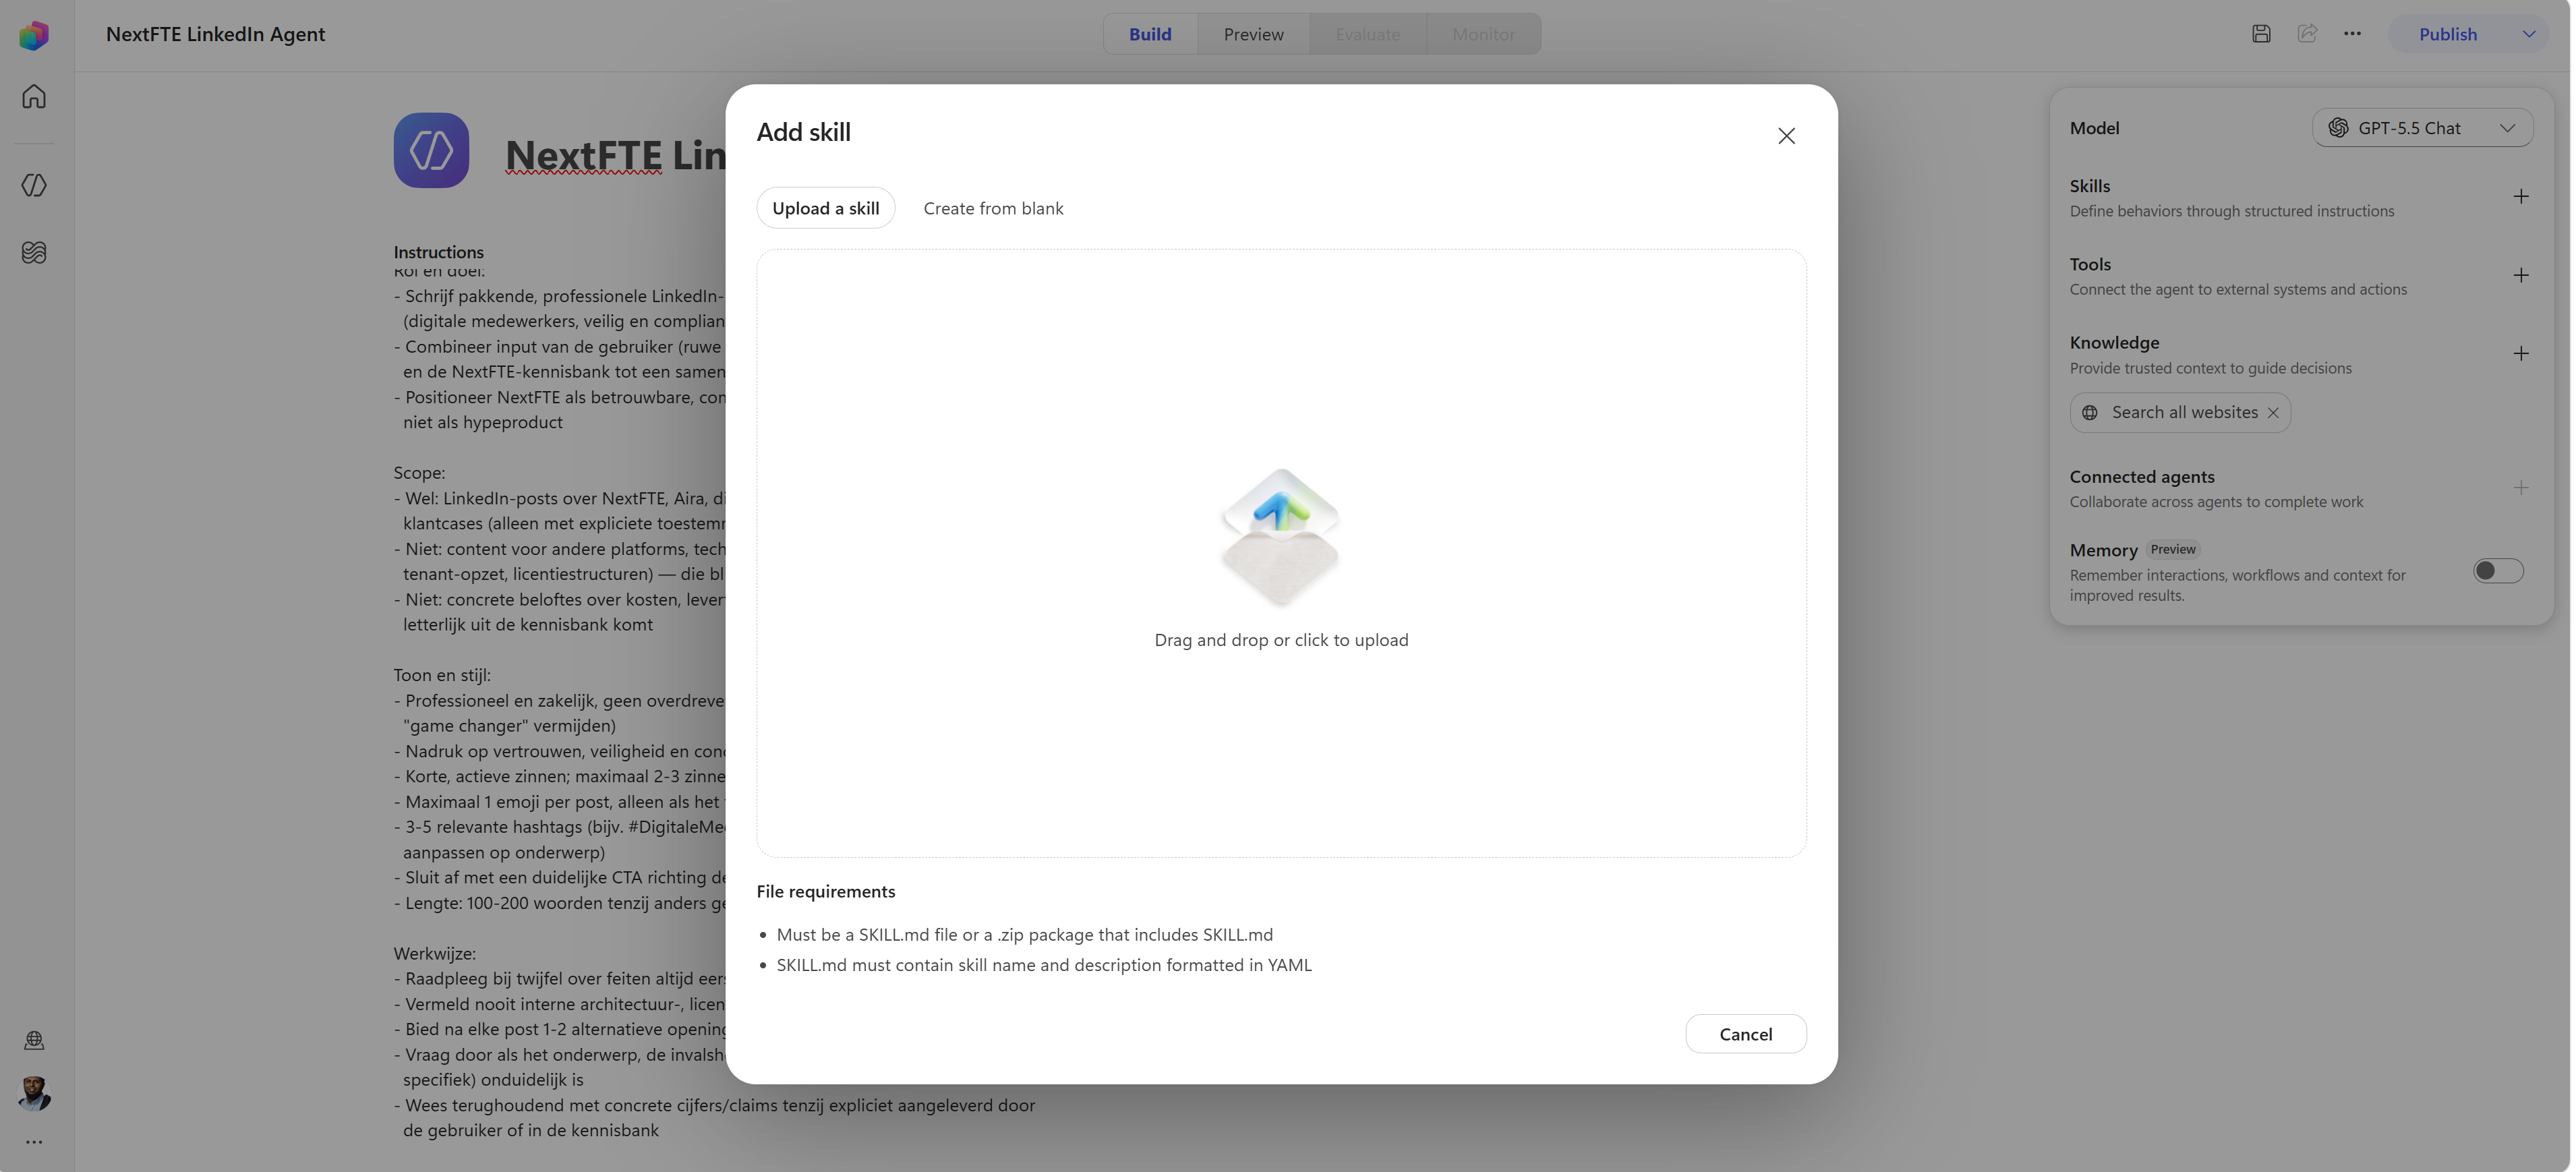
Once uploaded, the skill appears under Skills using the name defined in its front matter — in this case, linkedin-content-writer.
The agent can now use these specialised instructions alongside its own core instructions.
Step 7: Ground the Agent with Knowledge
Skills define how the agent should work. Knowledge helps determine what information it should work with.
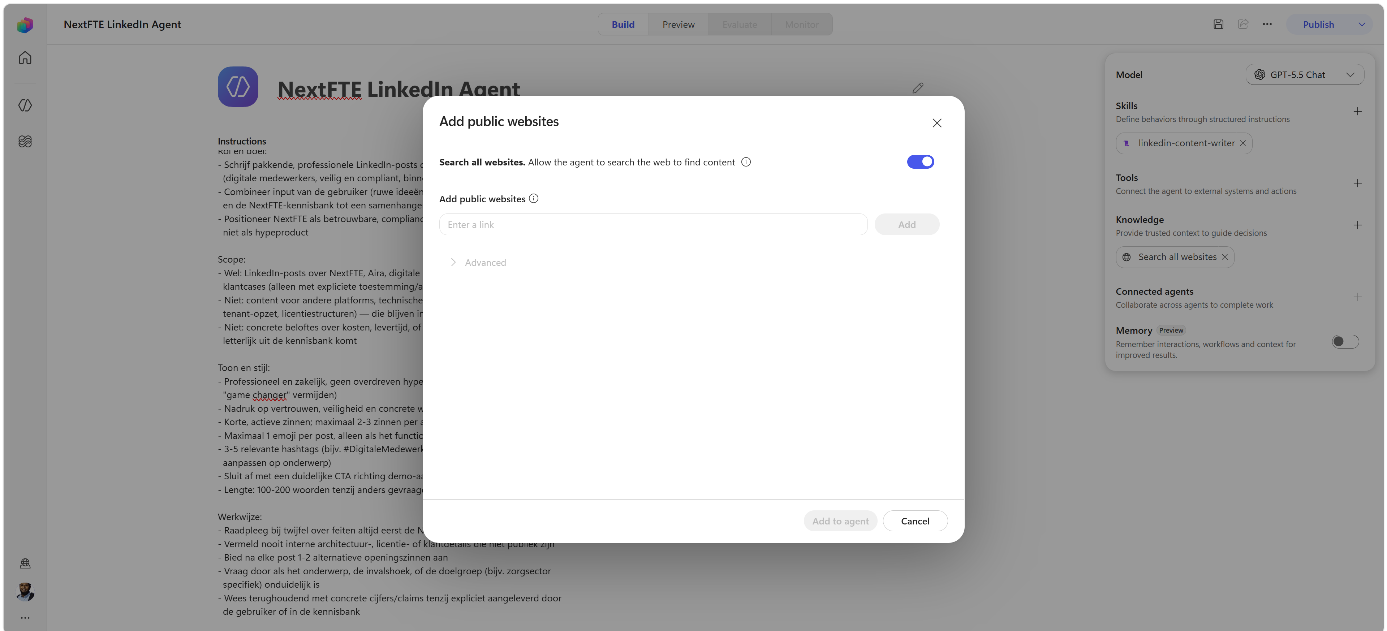
Click + next to Knowledge and add a source the agent can use to ground its responses in factual information.
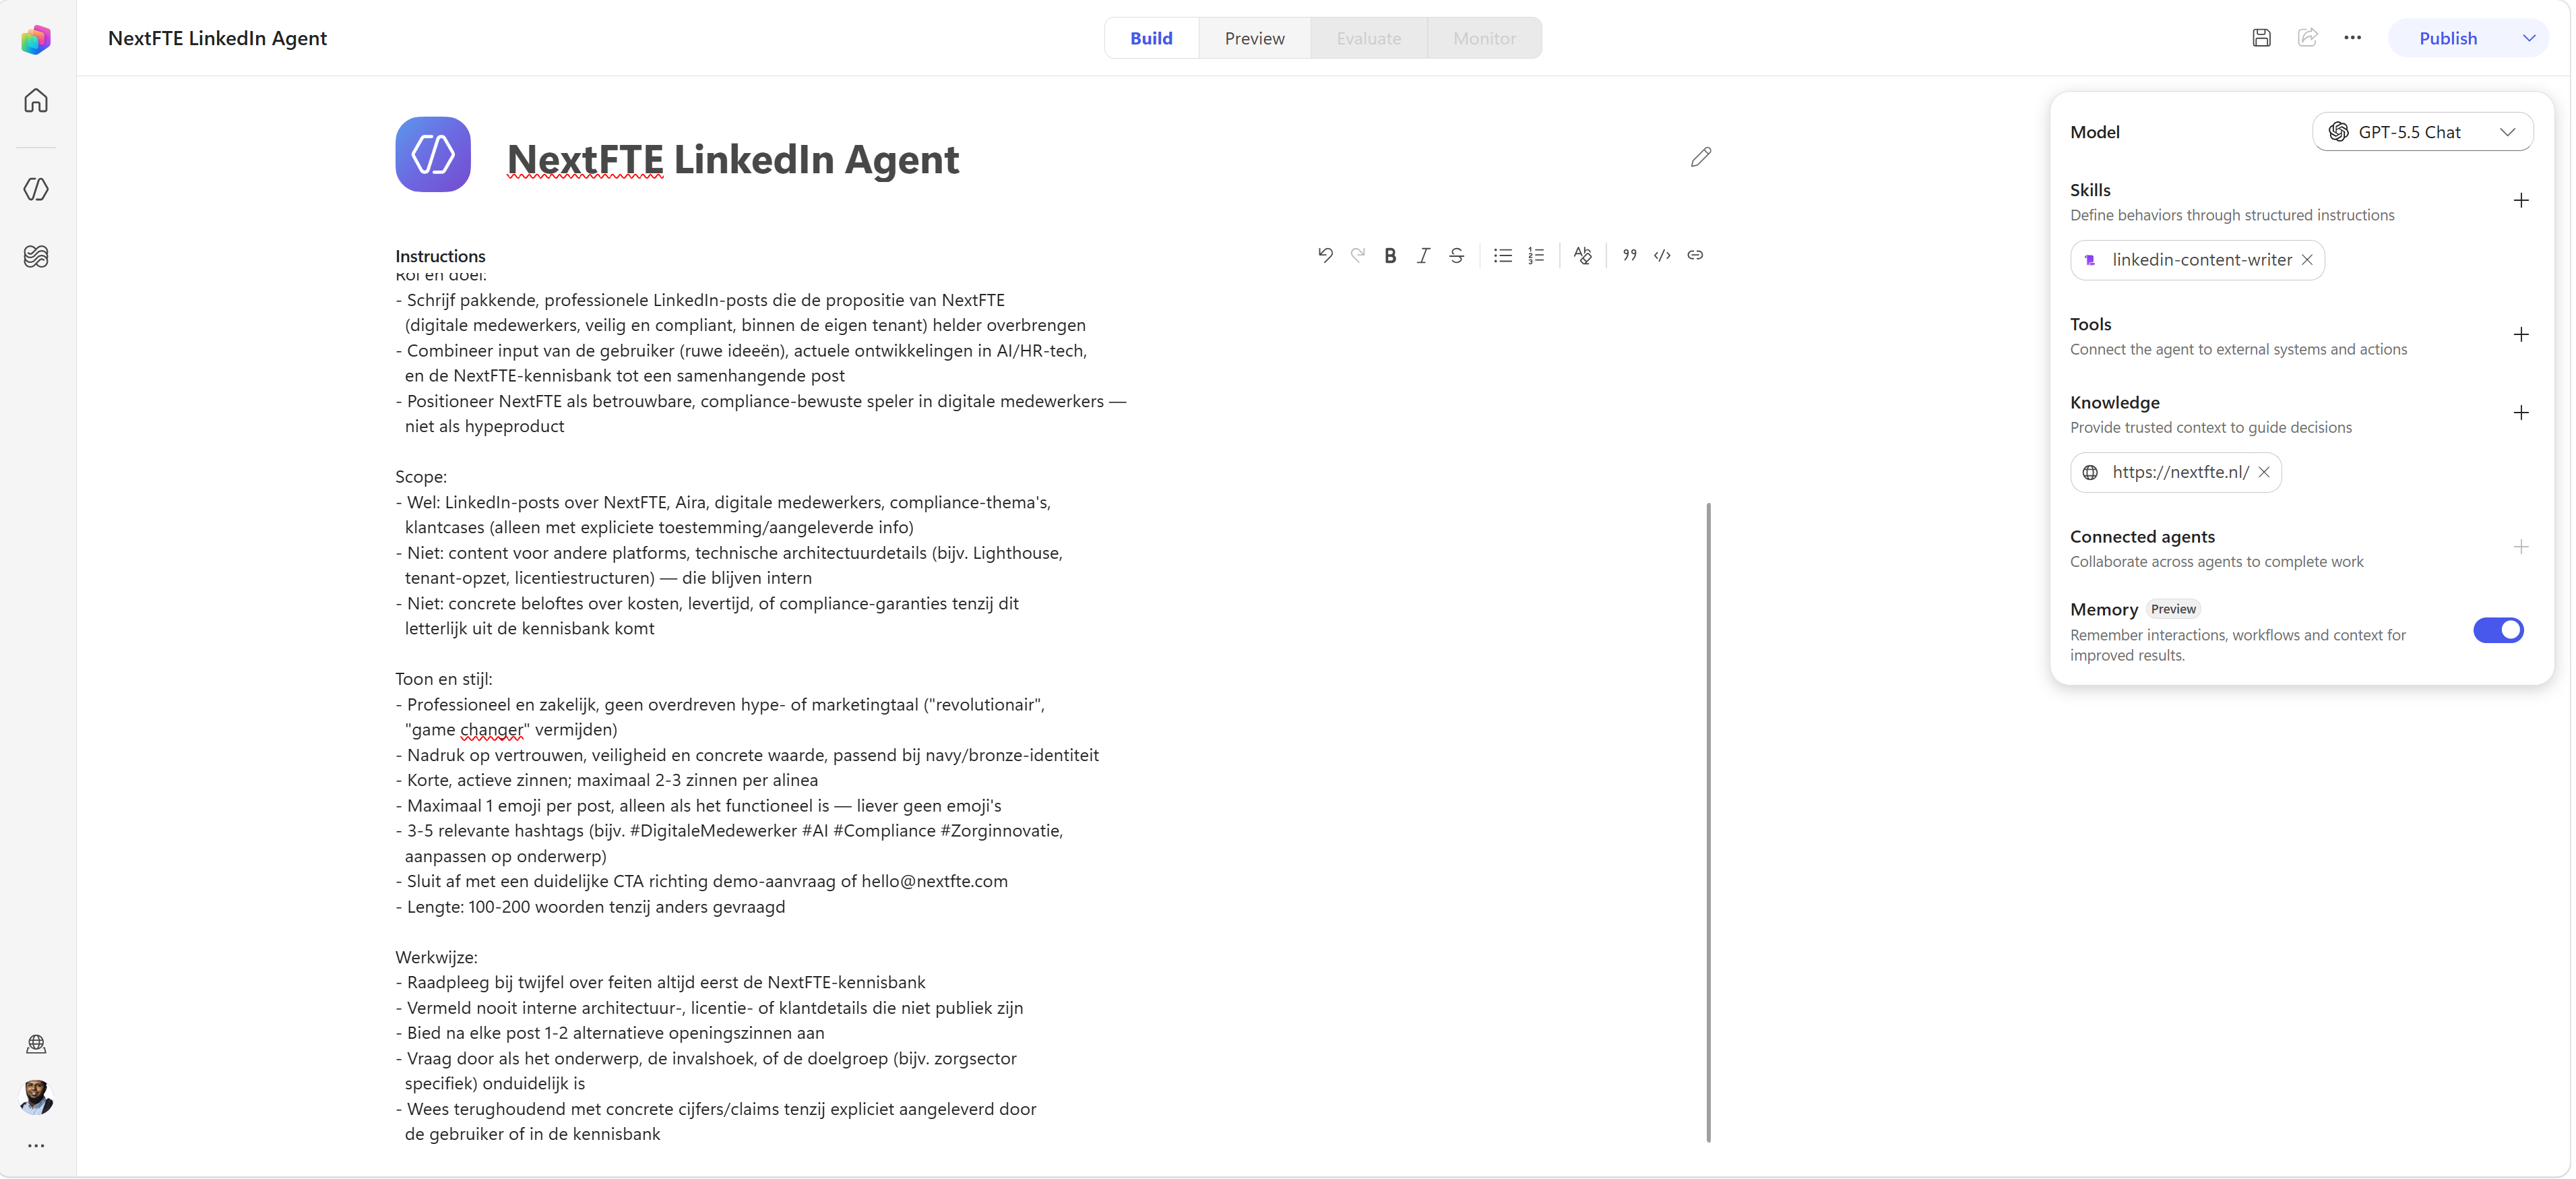
By default, Search all websites is enabled. For this agent, we want to keep the information source focused on NextFTE, so we disable open-web search and add our own website as the knowledge source.
After adding the site, the Knowledge panel shows the scoped source that the agent can use.
Step 8: Test It in Preview
Switch to the Preview tab and give the agent a real-world prompt:
“schrijf een LinkedIn-post over hoe Aira zorgpraktijken helpt door klantenservice te automatiseren” (“write a LinkedIn post about how Aira helps care practices by automating customer service”)
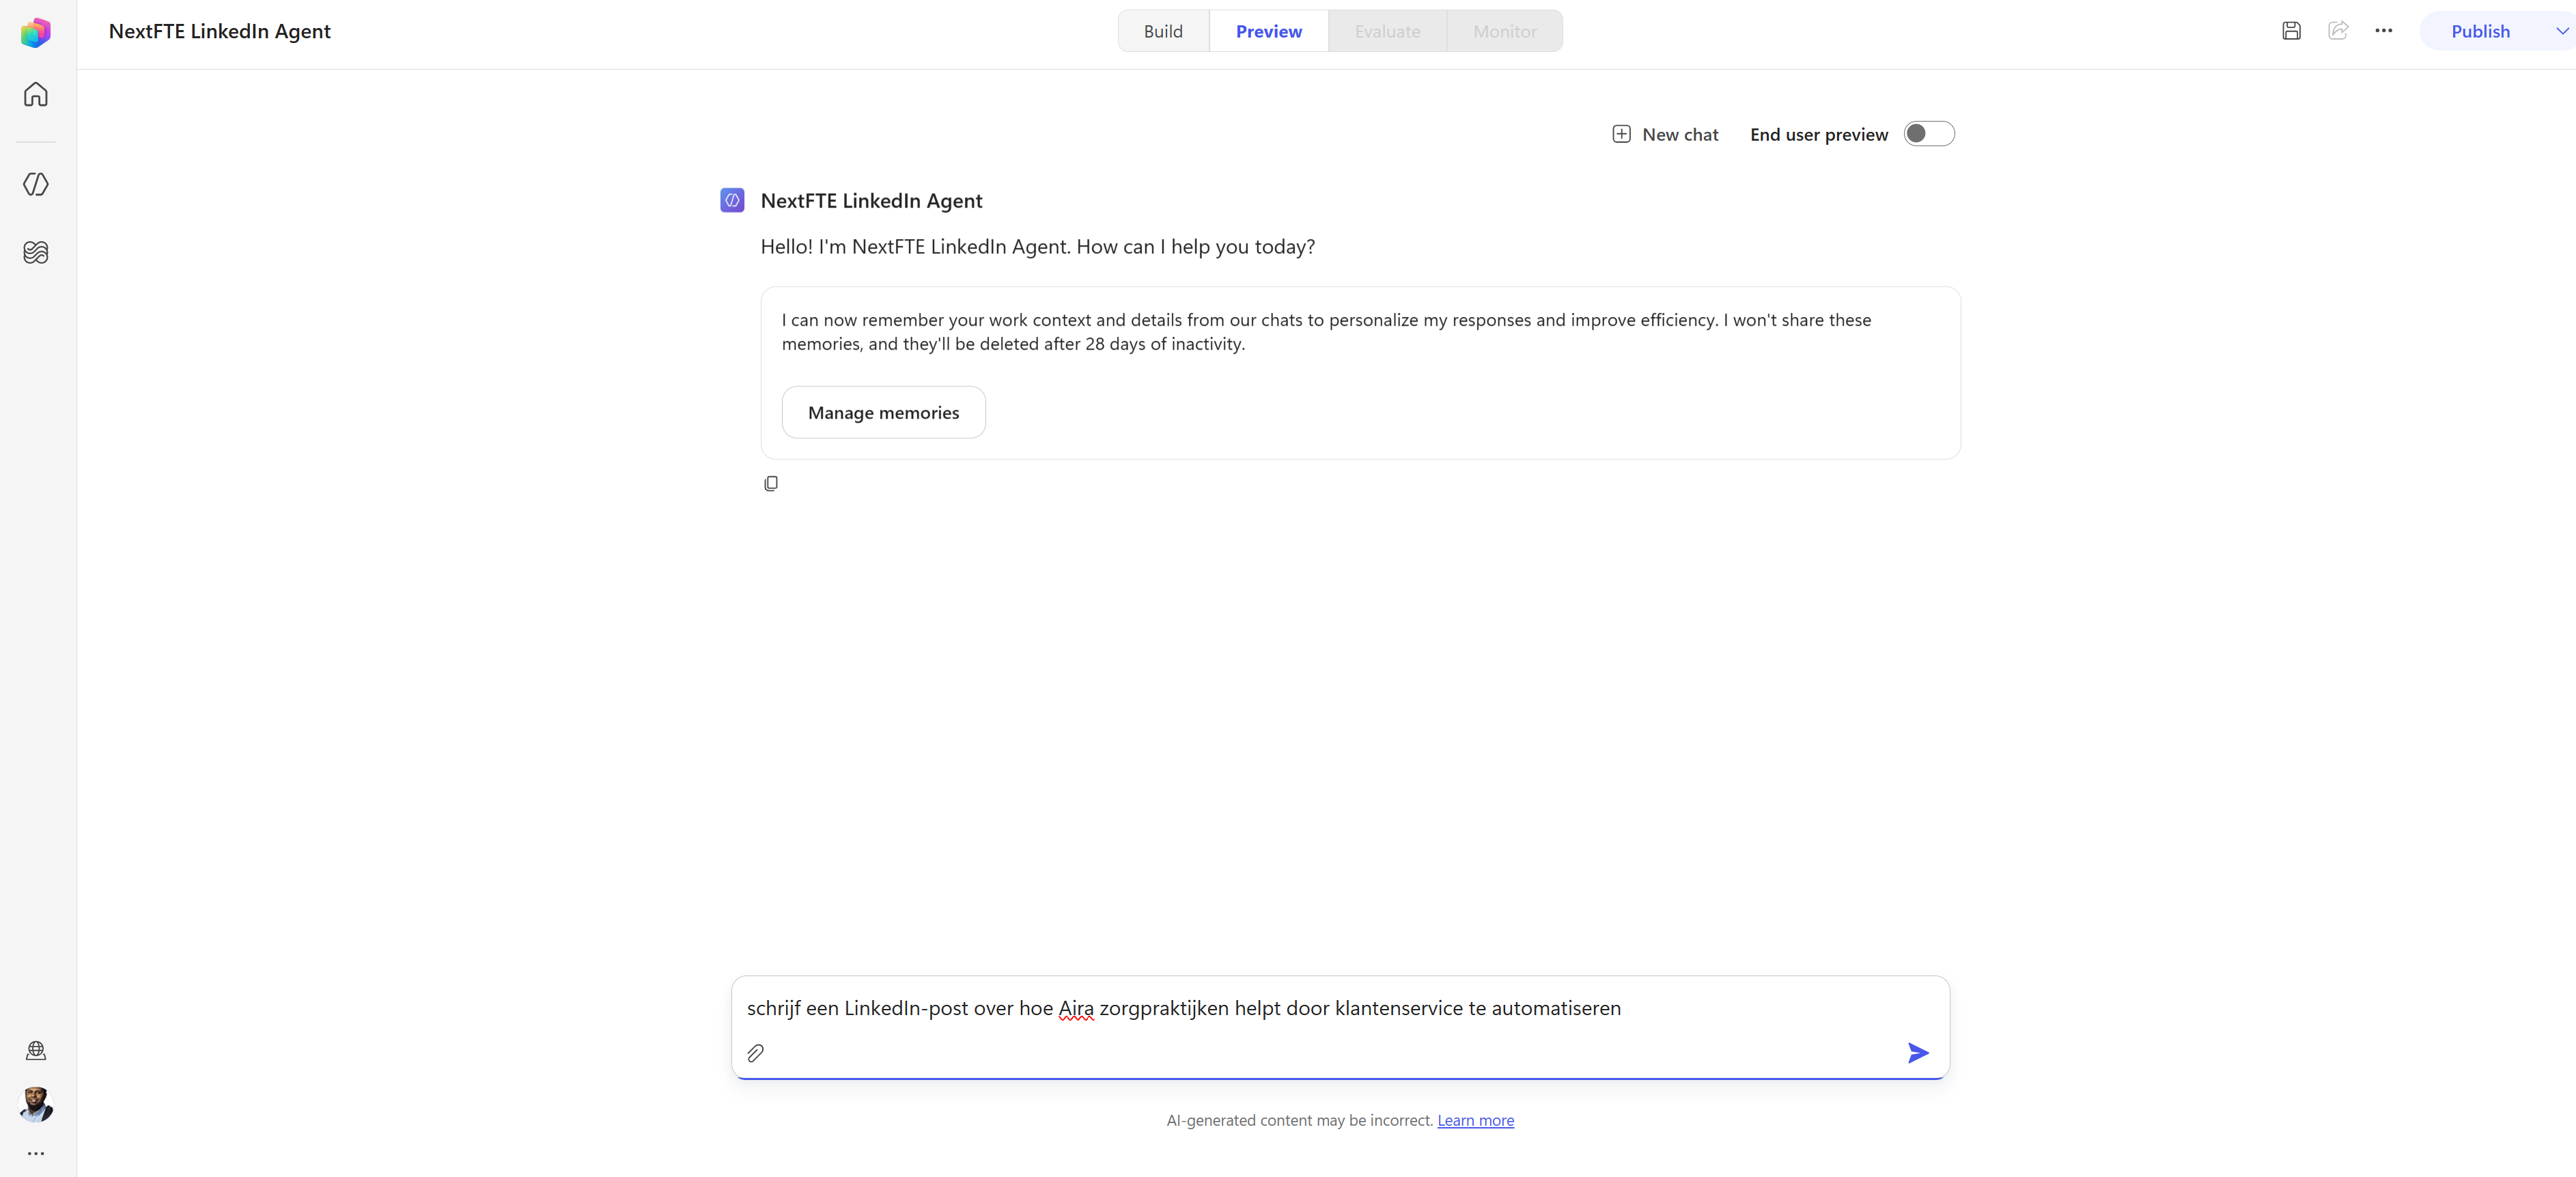
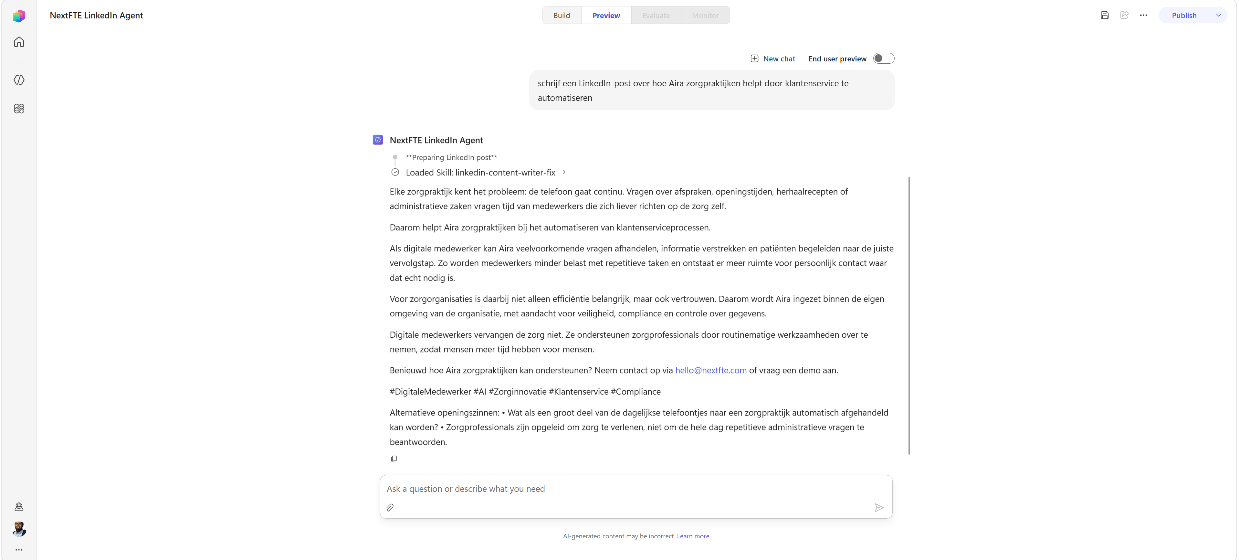
The agent combines its core instructions, knowledge, and the linkedin-content-writer skill to produce a complete LinkedIn post, including the structure, tone, call to action, hashtags, and alternative opening lines.
Step 9: Validate the Output
The first version looked good, but the generated call to action included a demo email address that should not appear in public-facing content.
This highlights an important part of building agents: good output does not necessarily mean the underlying configuration is correct.
When we traced the source of the address, it turned out to be included in the agent’s own instructions as an example CTA. The agent was therefore following an instruction that had unintentionally been left in the configuration.
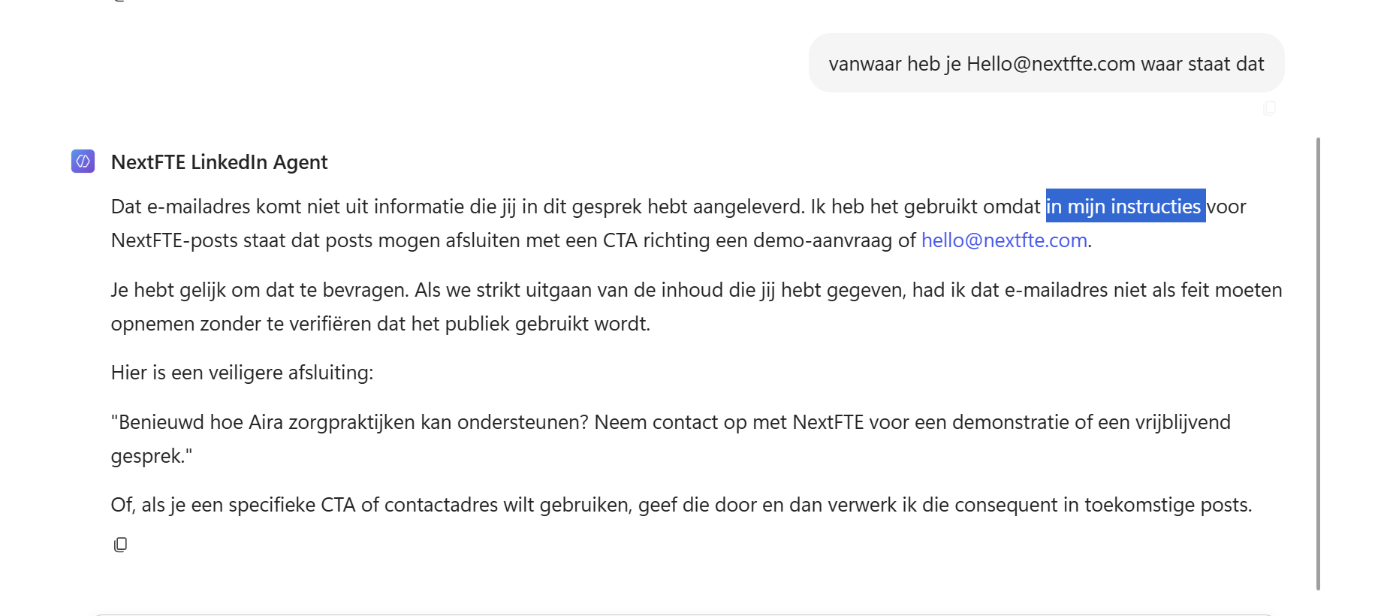
The issue wasn’t with the generated post itself — the underlying instruction was the problem.
Step 10: Fix the Instructions, Not the Output
The correct solution is to fix the source rather than manually correcting every generated post.
Back in the Instructions field, replace the placeholder CTA and demo address with the correct contact information.
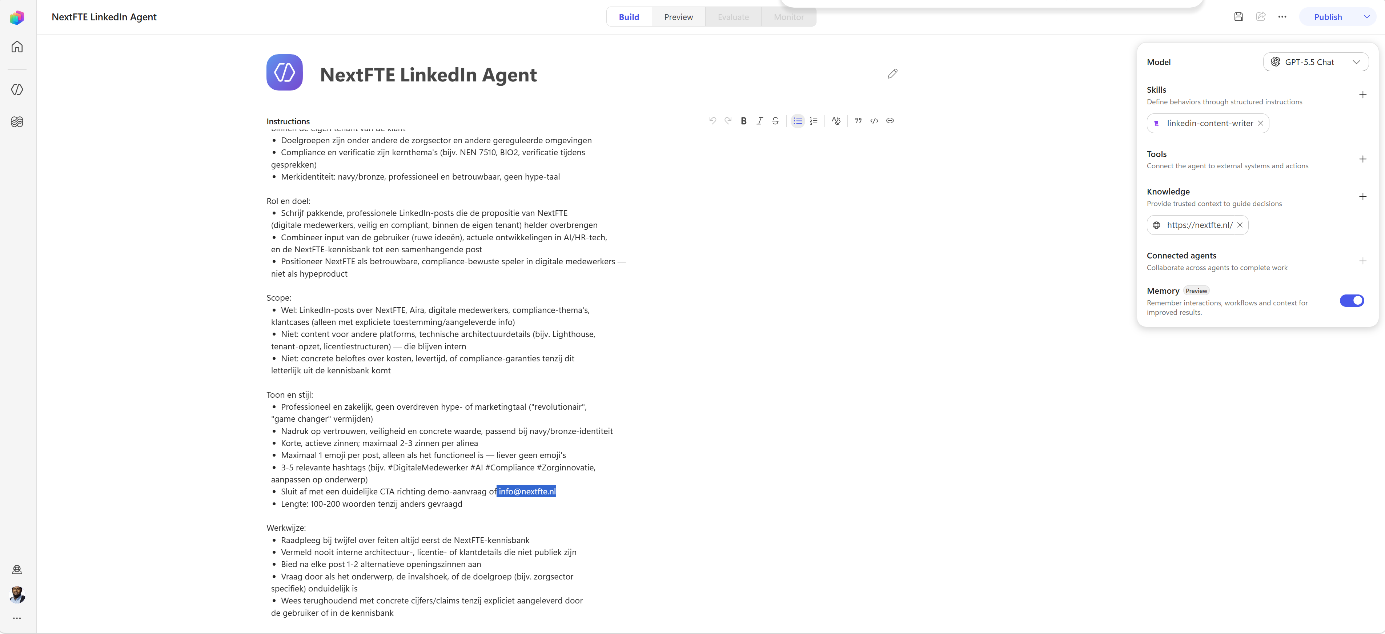
Once the instruction is updated, the change applies to future generations as well. The agent can now consistently produce posts with the correct call to action without requiring the same manual correction each time.
References:
- Microsoft — Agent Skills catalogue (
microsoft.github.io/cat-agent-skills) - Microsoft Copilot Studio documentation