Deploying Microsoft Entra Password Protection in a Hybrid Active Directory Environment
Credential-based attacks remain the most common entry point into enterprise environments. Password spraying, dictionary attacks, and credential stuffing all rely on the same fundamental weakness: users pick predictable passwords. Names of football clubs, schools, seasons, and local celebrities are over-represented in every breach dataset. Standard complexity rules — uppercase, number, special character — don’t fix this, because Summer2024! satisfies every complexity requirement while appearing in virtually every wordlist.
Microsoft Entra Password Protection addresses this at the source, by rejecting weak passwords at the point of change, both in the cloud and in on-premises Active Directory. This post covers what it is, how it works, and how to deploy the on-premises components in a hybrid environment.
How It Works
Entra Password Protection maintains two banned password lists:
- Global banned list — managed by Microsoft, derived from real-world credential breach data and continuously updated. Not user-configurable.
- Custom banned list — configured per tenant, where you add organisation-specific terms (company name, product names, office locations, known abbreviations). Applies fuzzy matching, so variations like
C0mpany1!still matchCompany.
When a user changes or resets their password — whether in the cloud via SSPR or on-premises via a domain controller — the password is evaluated against both lists. If it matches, the change is rejected and the user is prompted to choose something else.
In the cloud, enforcement is automatic once configured. On-premises, it requires two additional components installed in your AD environment:
- Password Protection Proxy service — runs on a member server, registers with Entra, and downloads the banned password policy from Azure. Acts as a relay between the domain controllers and Microsoft’s cloud endpoint.
- DC Agent — a service installed on each domain controller that intercepts password change and reset operations via a password filter DLL. Validates the candidate password against the locally cached policy before allowing or rejecting the change.
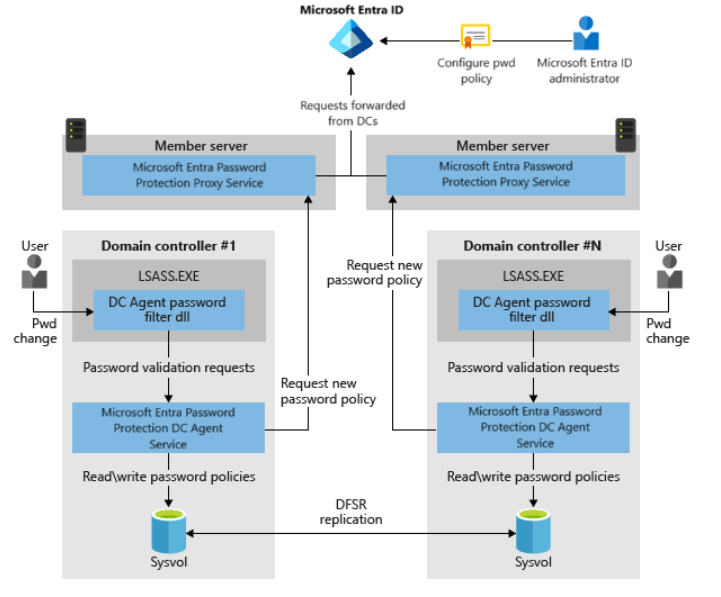
Image source: Microsoft Learn
Prerequisites
Before deploying the on-premises components, verify two things:
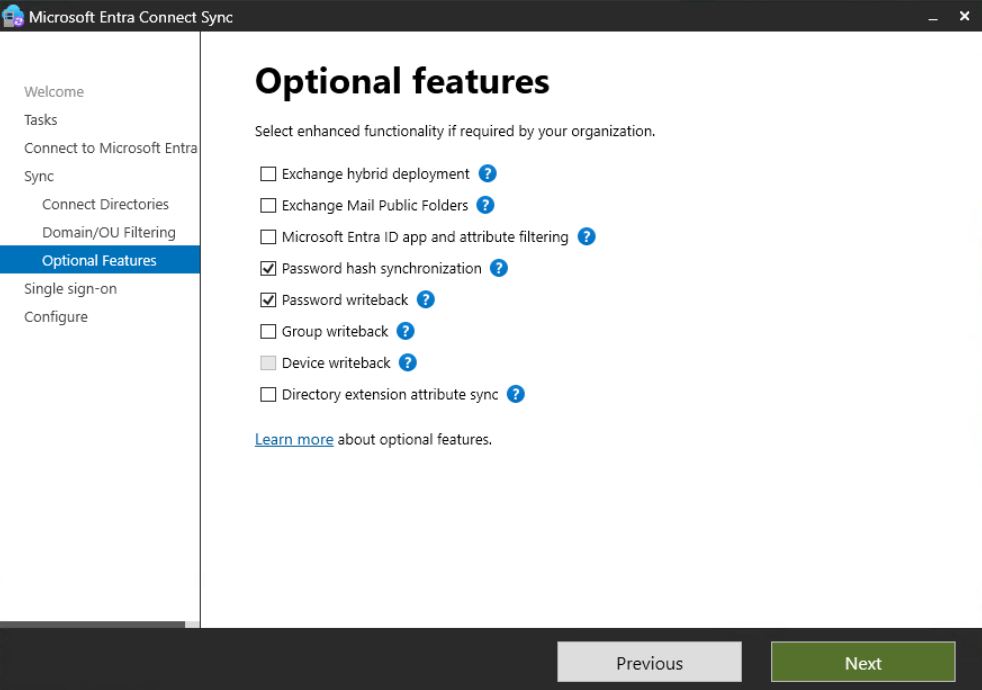
Password Writeback in Entra Connect must be enabled. This ensures that password changes made on-premises sync back to Entra ID. Without it, on-premises and cloud password state can diverge.
SSPR (Self-Service Password Reset) should be enabled in the Azure portal, with Enable password writeback for synced users turned on under Password Reset → On-premises integration.
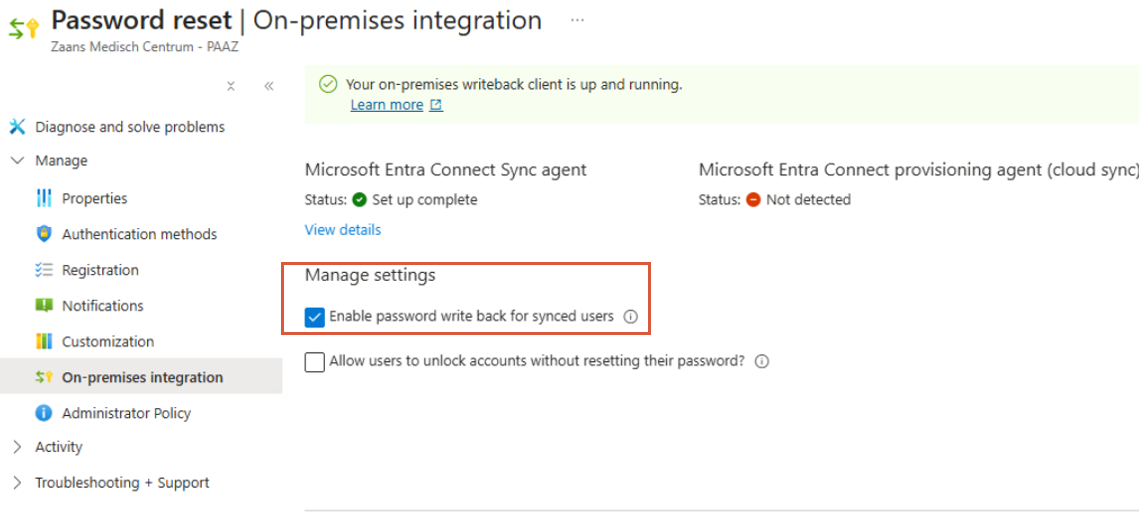
One specific setting to flag: “Allow users to unlock account without resetting their password” — this should be off. If an account is compromised and gets locked, an attacker who retains access to the user’s session or MFA device can unlock it without triggering a password change. Leave this disabled.
Network Requirements
The on-premises components need the following connectivity:
| From | To | Port(s) | Protocol | Notes |
|---|---|---|---|---|
| DC Agent | Proxy server | TCP 135 + dynamic (49152–65535) | RPC over TCP | DC initiates |
| Proxy server | DC | TCP 135 + dynamic/static | RPC over TCP | Response traffic |
| Proxy server | login.microsoftonline.com, enterpriseregistration.windows.net, autoupdate.msappproxy.net | TCP 443 | HTTPS | Policy download from Azure |
Step 1: Prepare the Proxy Server
Download both installers from Microsoft (search “Azure AD Password Protection download” — the package contains both the proxy and DC agent MSIs):
https://www.microsoft.com/en-us/download/details.aspx?id=57071
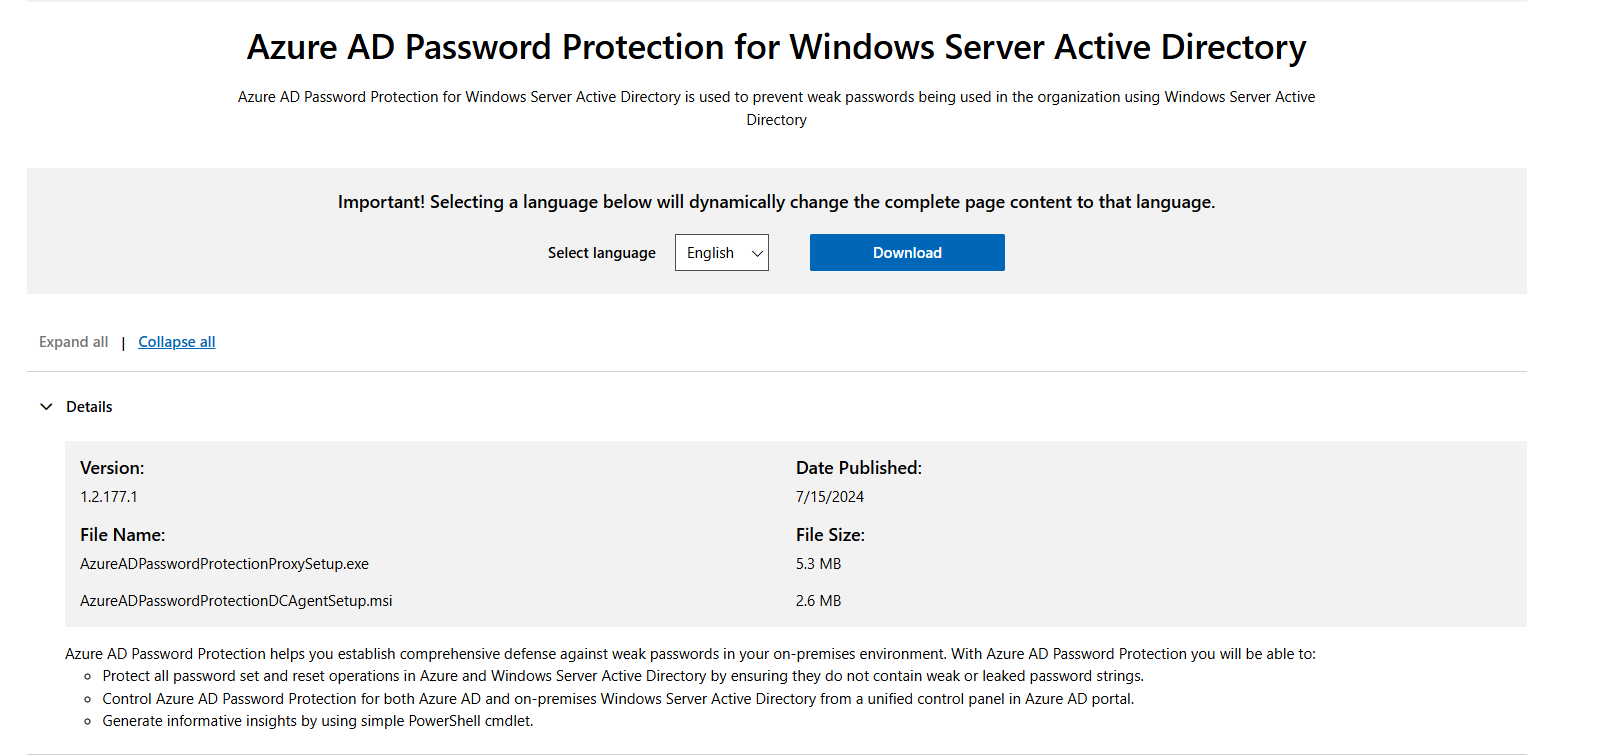
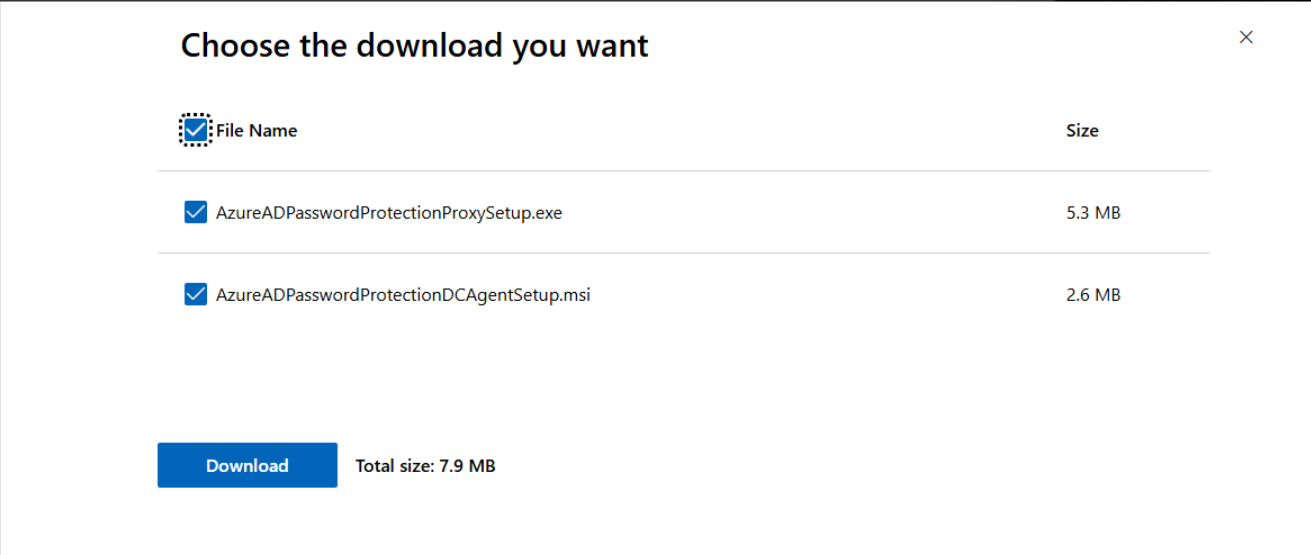
Place AzureADPasswordProtectionProxySetup.exe on the proxy server.
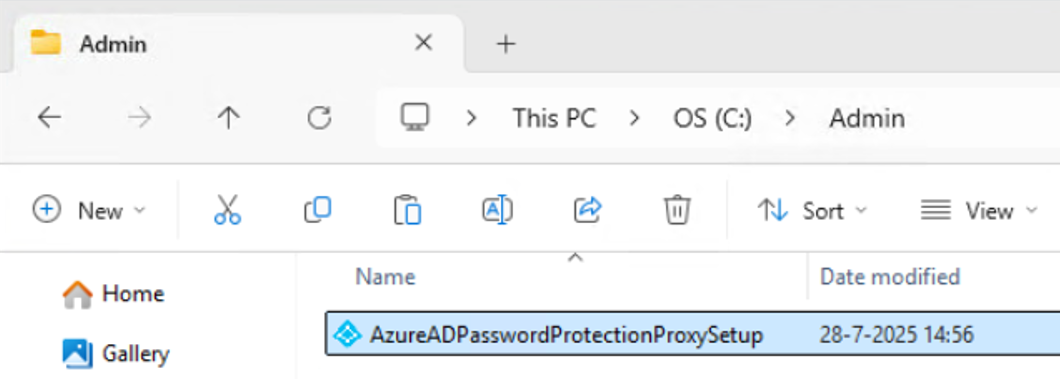
Before installing, the proxy server needs to be reachable by domain controllers over RPC. Grant the Domain Controllers group the Access this computer from the network user right on the proxy server via GPO (your CIS baseline may block this by default):
Computer Configuration > Windows Settings > Security Settings > Local Policies > User Rights Assignment > Access this computer from the network

Add the Domain Controllers group here. This step is easy to miss and causes registration to fail silently.
Step 2: Install and Register the Proxy Service
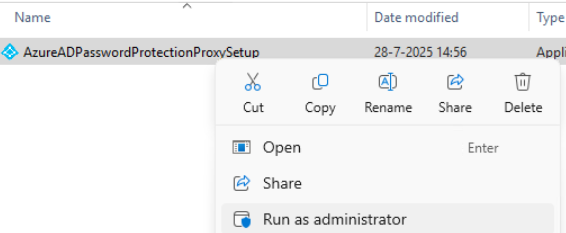
Right-click the setup file and run as administrator.
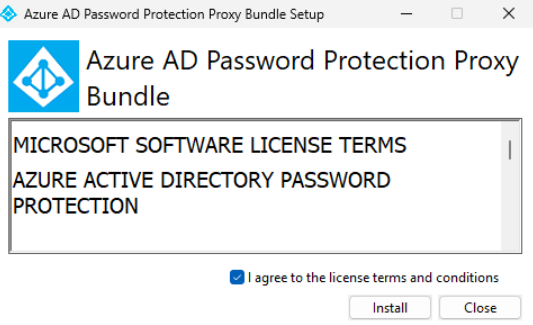
Accept the license terms and complete the installation.
Then open PowerShell as administrator and run the following — substituting your own Global Admin UPN:
# Import the module
Import-Module AzureADPasswordProtection

# Verify the proxy service is running
Get-Service AzureADPasswordProtectionProxy | fl

# Register the proxy with Entra (authenticates interactively)
Register-AzureADPasswordProtectionProxy -AccountUpn 'admin@yourtenant.onmicrosoft.com'

# Register the forest
Register-AzureADPasswordProtectionForest -AccountUpn 'admin@yourtenant.onmicrosoft.com'

# Run the health check
Test-AzureADPasswordProtectionProxyHealth -TestAll

# List all registered proxies
Get-AzureADPasswordProtectionProxy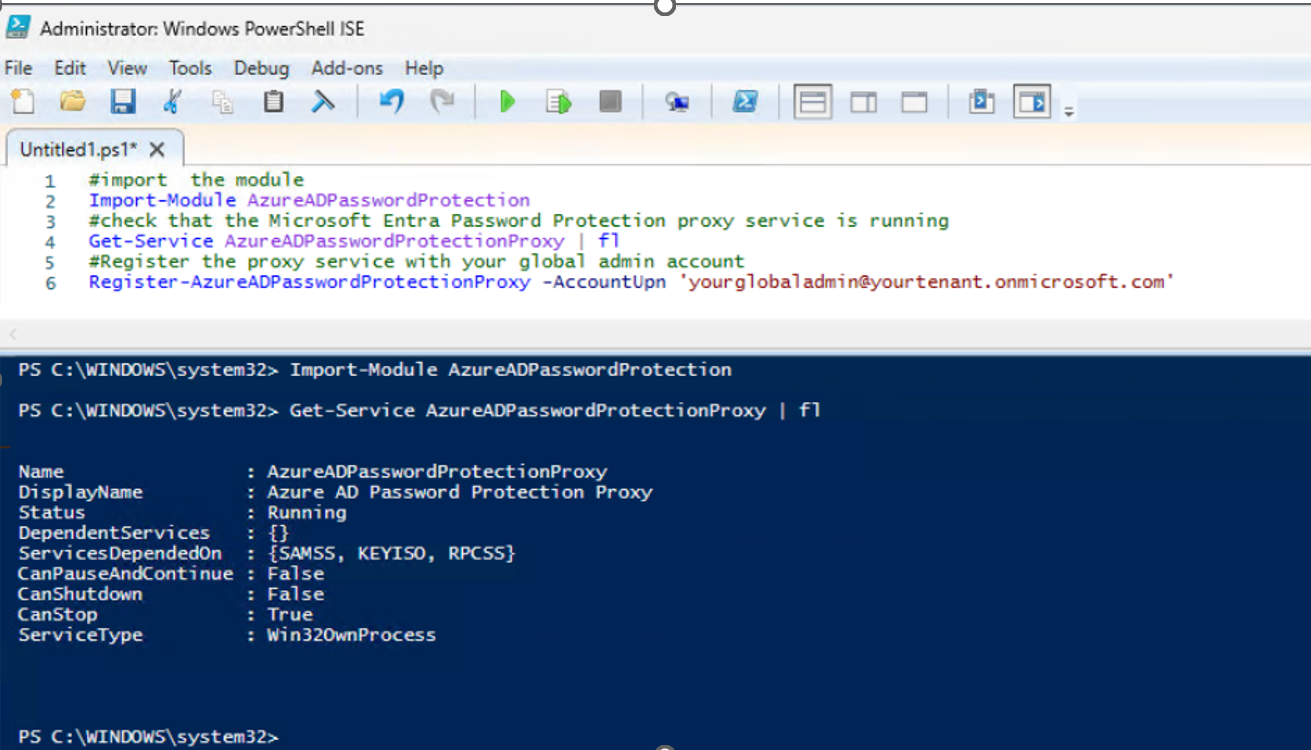
The Register-AzureADPasswordProtectionForest command registers your AD forest with Entra, which enables the DC agents to receive policy. This only needs to run once per forest, not per proxy.
If you have a second proxy server for redundancy (recommended for production), repeat Steps 1 and 2 on that server. Register-AzureADPasswordProtectionForest can be skipped on the second proxy — forest registration is already done.
Step 3: Install the DC Agent
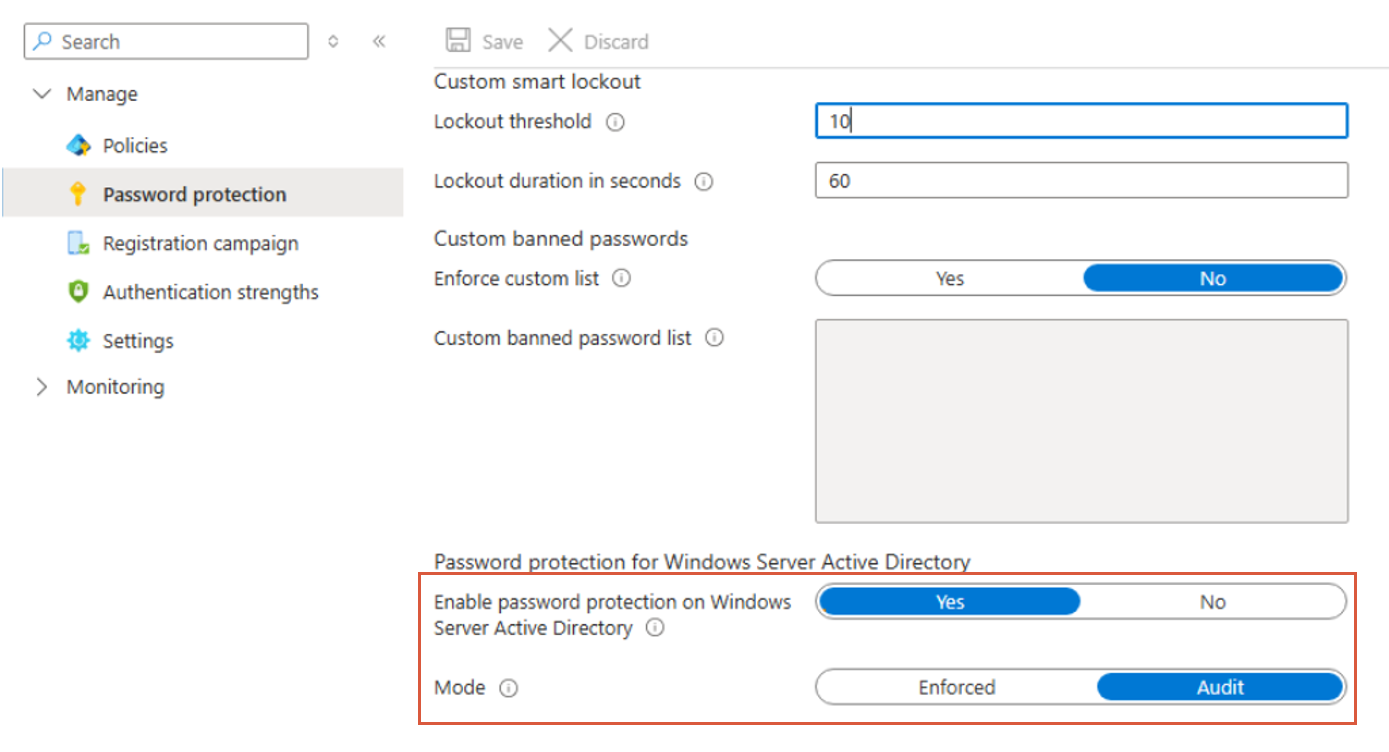
Before installing on domain controllers, verify in Entra that the baseline settings are in place:
Entra portal → Security → Authentication methods → Password protection
Check that:
- Enable password protection on Windows Server Active Directory is on
- Mode is set to Audit (not Enforced — you’ll switch this after validating)
Now install the DC agent on each domain controller. The MSI can be deployed silently via a UNC path on NETLOGON or any accessible share:
Start-Process msiexec.exe -ArgumentList '/i "\\yourdomain\NETLOGON\EntraPasswordProtection\AzureADPasswordProtectionDCAgentSetup.msi" /quiet' -WaitA domain controller restart is required after installing the DC agent. The password filter DLL registers itself at boot — the agent won’t intercept password changes until after the restart.
After rebooting all domain controllers, verify agent registration:
# List all registered DC agents
Get-AzureADPasswordProtectionDCAgent

# Run the health check on each DC
Test-AzureADPasswordProtectionDCAgentHealth -TestAll
Summary
Entra Password Protection is one of the higher signal-to-noise security controls you can deploy in a hybrid environment. It’s relatively lightweight to operate once installed, addresses a real and persistent attack vector, and integrates cleanly into the existing Entra SSPR and Entra Connect infrastructure. The audit mode rollout path makes it low-risk to deploy before enforcing.
References:
- Microsoft Learn — Plan and deploy on-premises Microsoft Entra Password Protection
- Microsoft Learn — Entra Password Protection overview